Certano T-Bender Installation Guide

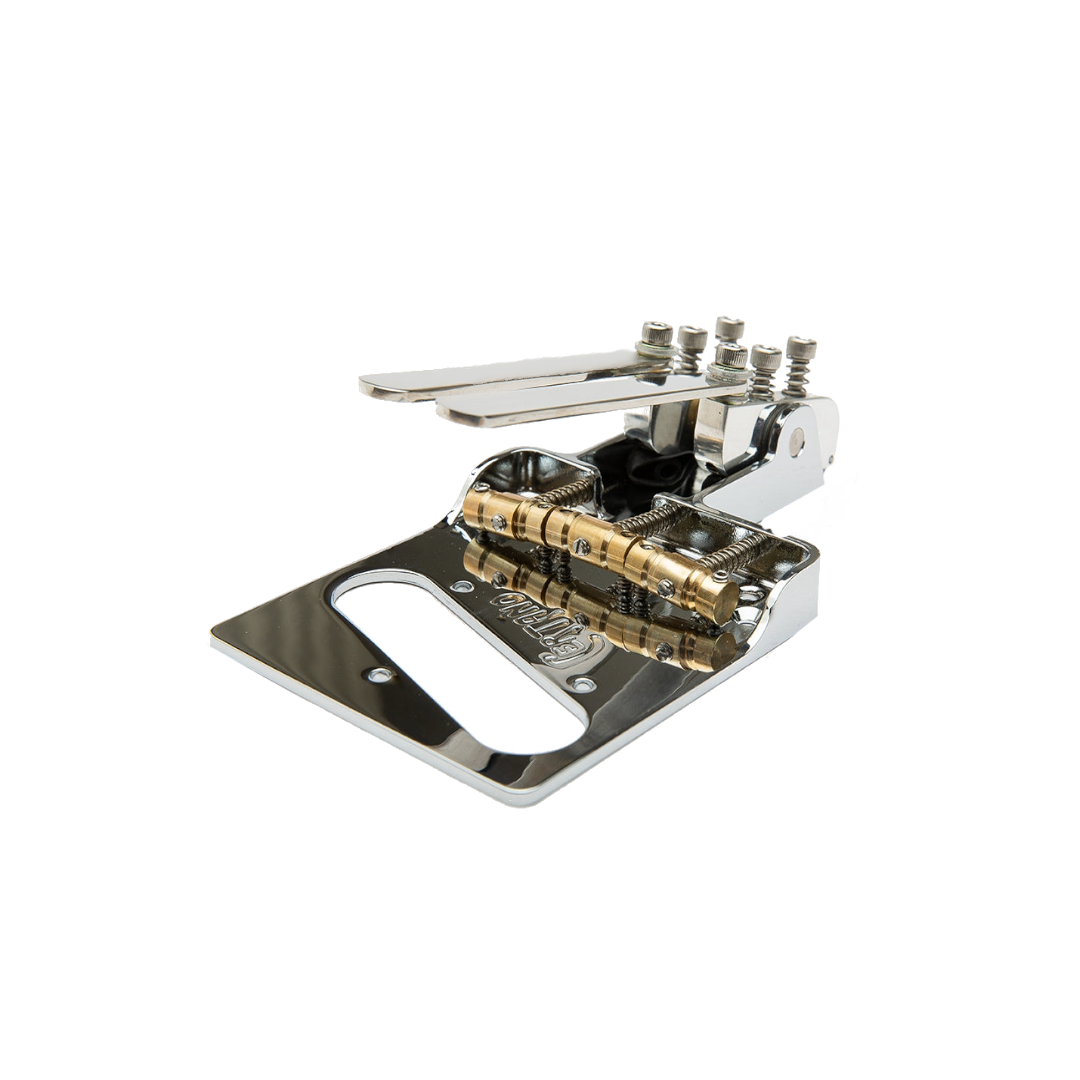
Installing the Certano T-Bender for Tele®
Start by dismantling/ uninstalling your existing bridge by removing the 4 screws holding it in place on your guitar. Replace the old bridge with the Certano T-Bender for Tele® making sure the ground wire is touching the underside of the T-Bender’s bridge plate, as it was with the original bridge. No additional drilling is required, making this enhancement completely reversible.
Once the Certano T-Bender for Tele® has been installed onto your guitar, begin setting it up as you would a normal bridge by adjusting the string height to your liking and by setting the intonation. String height or “action” can be adjusted by using the included hex wrench to raise or lower the saddles. Intonation can be adjusted from the front of the saddle with the front-slotted intonation screws. It is recommended that you check your neck relief and string height at the nut as well, but these shouldn’t change much while swapping bridges.

Setting the Arm Pitch and Tuning
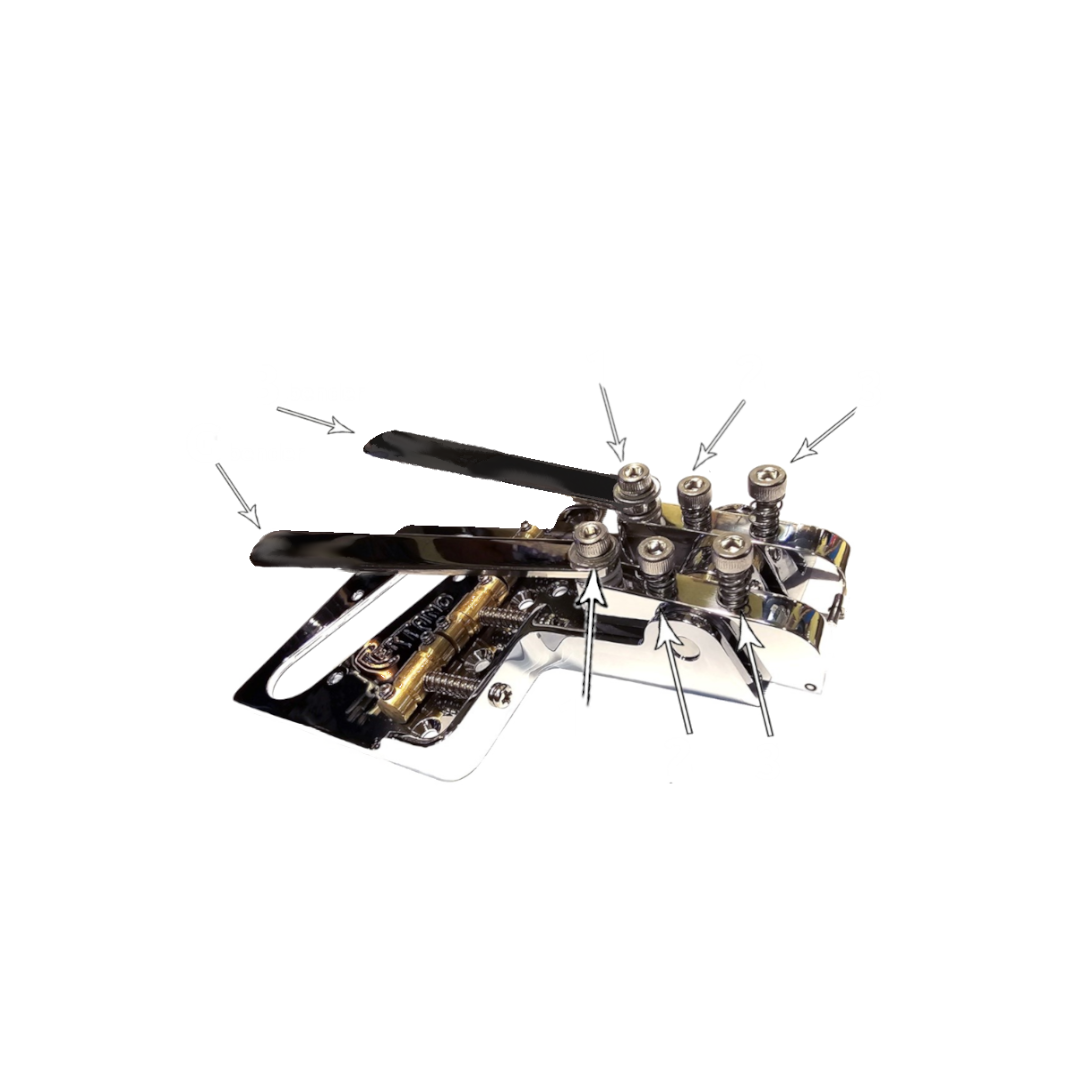
For setting the arm angle and tuning, adjustments can be made with the 2 spring-loaded screws at the end of each bender (2 and 3).
First, adjust the “3” screws to get the desired angle (or tilt) for the bender arms that best suits your playing style.
Once the desired pitch is set, you can set the tuning for each arm. Make sure the strings are completely in tune and then adjust the “2” screws to choose the end of the benders' travel to obtain the desired note. Simply tighten the “2” screw to tune flat or loosen the screw to tune sharp.
Both B and G levers can fold completely back if you want to have only a “G” bender or “B” bender accessible. Loosening and tightening the “1” screws will adjust how tight or loose the arms are. A set screw, accessible on the underside of each bender, sits under each “1” screw to prevent the arms from being over-tightened. Access to this set screw requires each bender to be disassembled from the bridge.
Now enjoy your newly installed Certano T-Bender!
Check out the videos below for more help.

We know how exciting it is to upgrade and personalize your instrument! We also know it can be tricky! Lucky for you, Allparts works with a network of highly qualified techs that are ready to help.
Our Premium Installation Partners carry our best-selling replacement parts and have full-service repair departments. Check out our Premium Installation Partner page to see a list of our available partners. Give them a call and be sure to tell them Allparts sent you!


